Showing posts with label cheap. Show all posts

Friday, April 15, 2011

she thinks she's crafty...and she's right!

Happy Friday!  I just wanted to brag a little on my friend Beckymae.

She's in the running over at So You Think You're Crafty, where 10 crafters duke it out over 10 weeks to see who comes out on top!

If you aren't following this competition, you really should.  Vote here for your favorite projects! 
This week's theme is Knock Offs. 

(Becky's project is an Anthropologie knockoff. 
It's something you can really rest your head on...hint hint...)

And if she didn't have enough to do right now, she has a booth in the Georgetown Red Poppy Festival this weekend.  If you're local, you MUST check it out!  Fun family stuff, and all free!  The girls and I are going on Saturday in between yardwork and taxes.  :)

She kindly offered to put some of my camera strap covers and Kindle covers in her booth.  See what I mean about crafters being some of the most generous people in the world?  How they tend to see others as colleagues rather than competition?

So please head over to SYTYC and vote!!  And check out her previous projects here:


Go Becky!!

Pin It!

Friday, March 11, 2011

hoodie upcycle part trois: camera strap cover!

I've been making camera strap covers for a while now.  I didn't invent them, I just put my own spin on them based on recommendations from my fabulous friend Jen, and adding my love of strip piecing.


Anyhoo, the camera strap covers have been a popular item, and I've sold the one off my camera 5 times.

Time to make another, one which I will NOT sell.

Beloved hoodie, thou hast new life. 


I think I may have stumbled onto greatness here.  There is NOTHING cushier on a neck than an old sweatshirt.


I added some cute raw-edge appliques and lined it with fusible fleece for even more padding.

 
Pardon the picture quality, but I had to use my phone for the pics.  Because I totally put this on my real camera as soon as it was done.  And it isn't coming off.
 
Well, unless someone wants to pay me $200 for it or something.
 
 
Pin It!

Friday, March 4, 2011

Guest Tutorial: No-Sew Pillow Cover by {rindercella}

hi there! i am skye {or rindercella} from neathering our fest. i am so excited to be guesting here today at amy's blog. amy and i met on twitter and she is such a sweetie! she also has some really cute stuff in her etsy shop... i definitely think you should check it out!

today i am going to show you how to make a simple no-sew cover for a pillow!


here is what i used:

table cloth (or any piece of fabric you like or have leftover for another project!)
stitch-witchery
iron/ironing board
damp washcloth
pillow
scissors/pins

i found this tablecloth at a resale store a few months ago. like any crafter i knew i would need it one day so i bought it! it was $1. yippy!


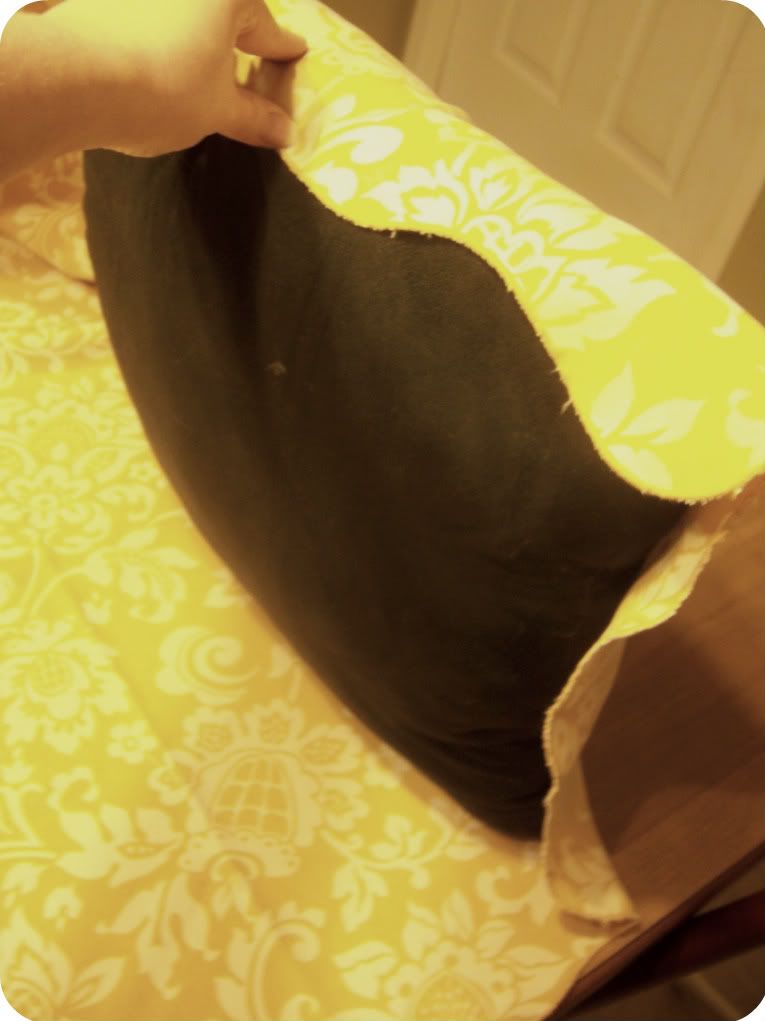
i laid it out face down on my crafting dining room table and placed the pillow on top of it with it situated towards the bottom right corner of the fabric. i left about four inches of extra fabric around the perimeter because this is an extra floofy pillow and i wanted to make sure i had ample to work with.


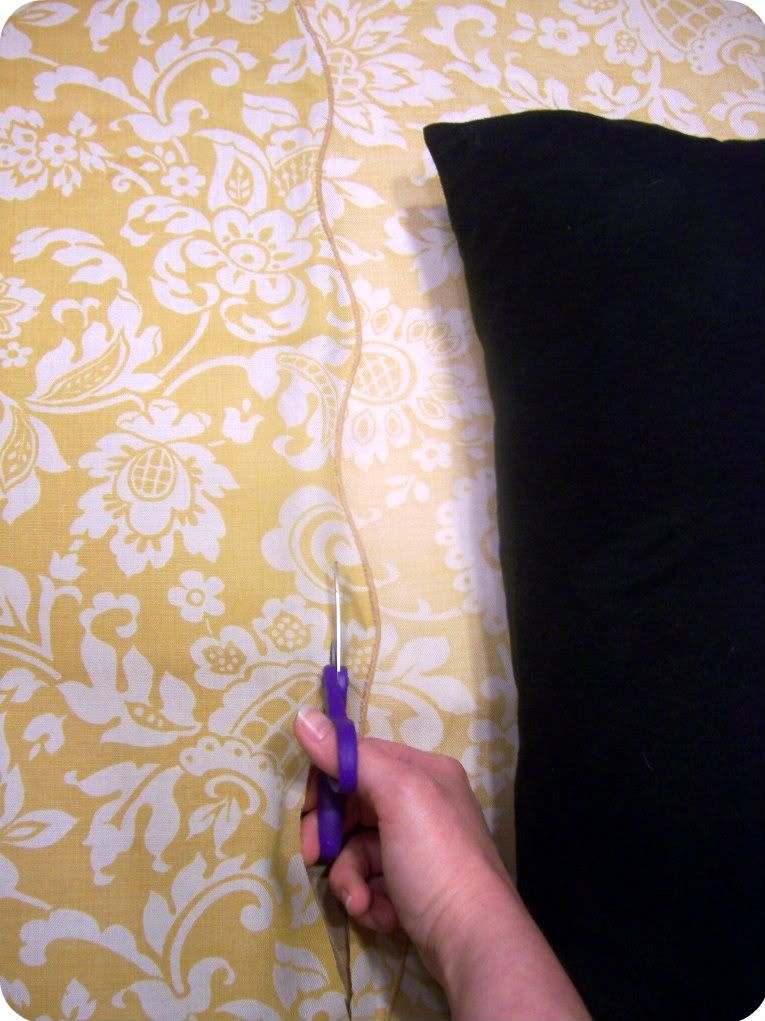
then i simply folded the pillow and fabric over. i made sure the edges lined up and then gave myself four more inches of slack before i cut around the pillow.


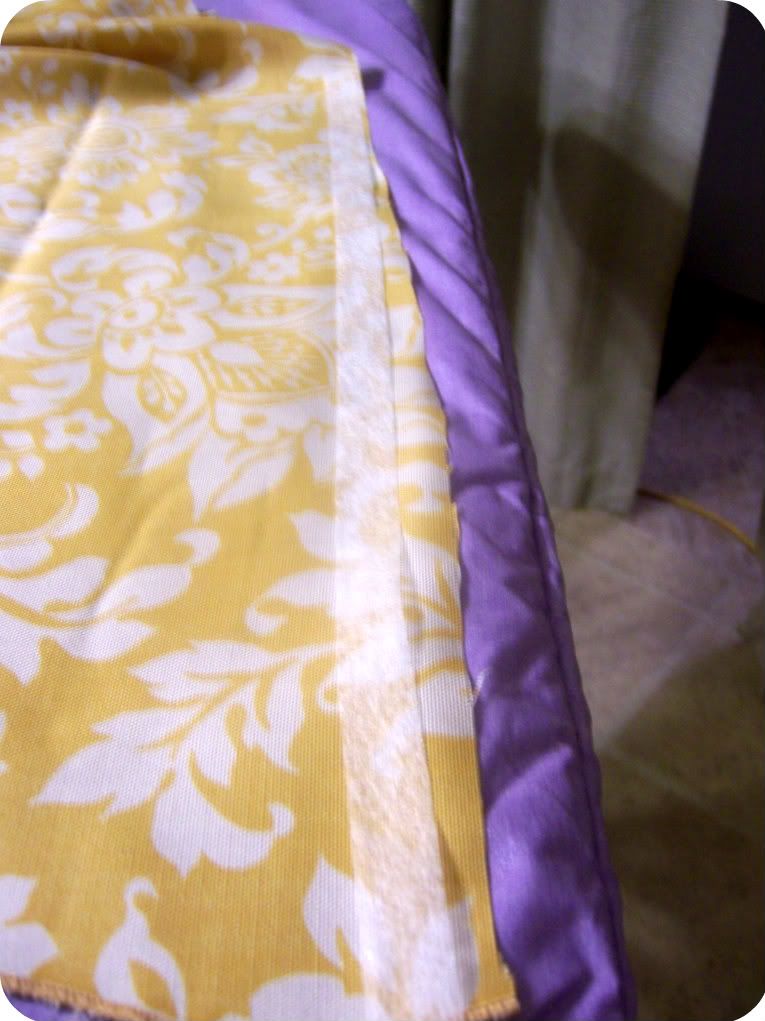
next, i took the fabric and folded it with the wrong side facing out. i laid it on my ironing board and unrolled the stitch -witchery to measure for each side. i only needed two strips for this part because the bottom seam will come from where i have folded it!


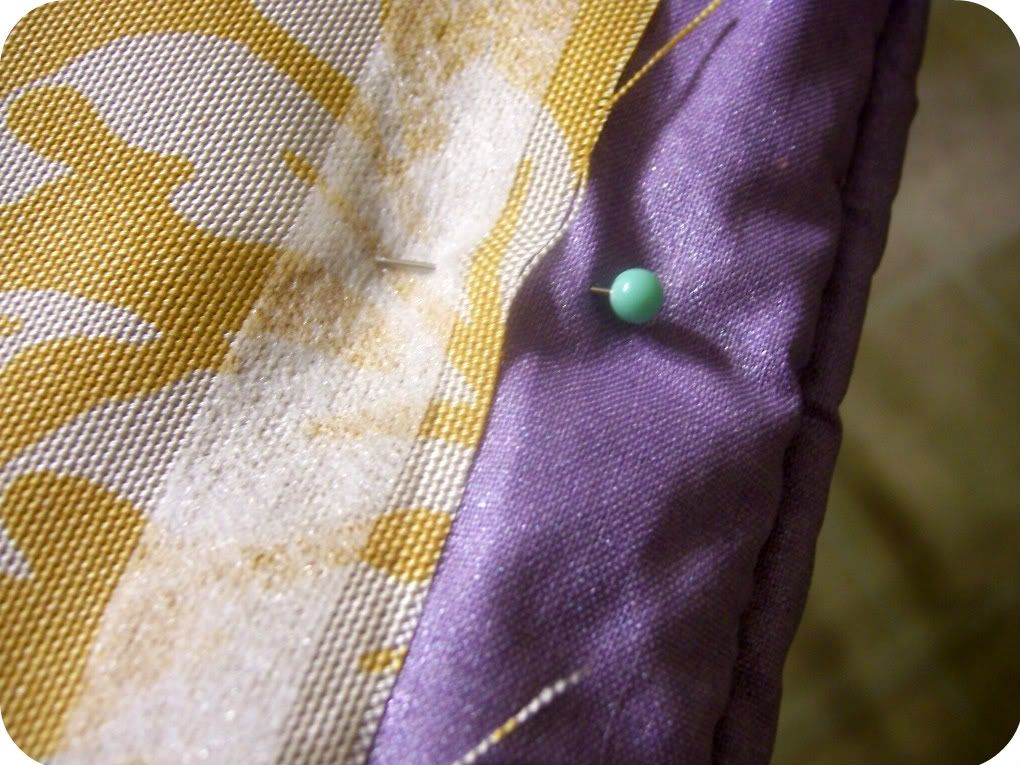
after that, i pinned the stitch witchery to the fabric and the ironing board so that it wouldn't move around on me. (i stole gleaned this genius idea from kim over at sand and sisal).


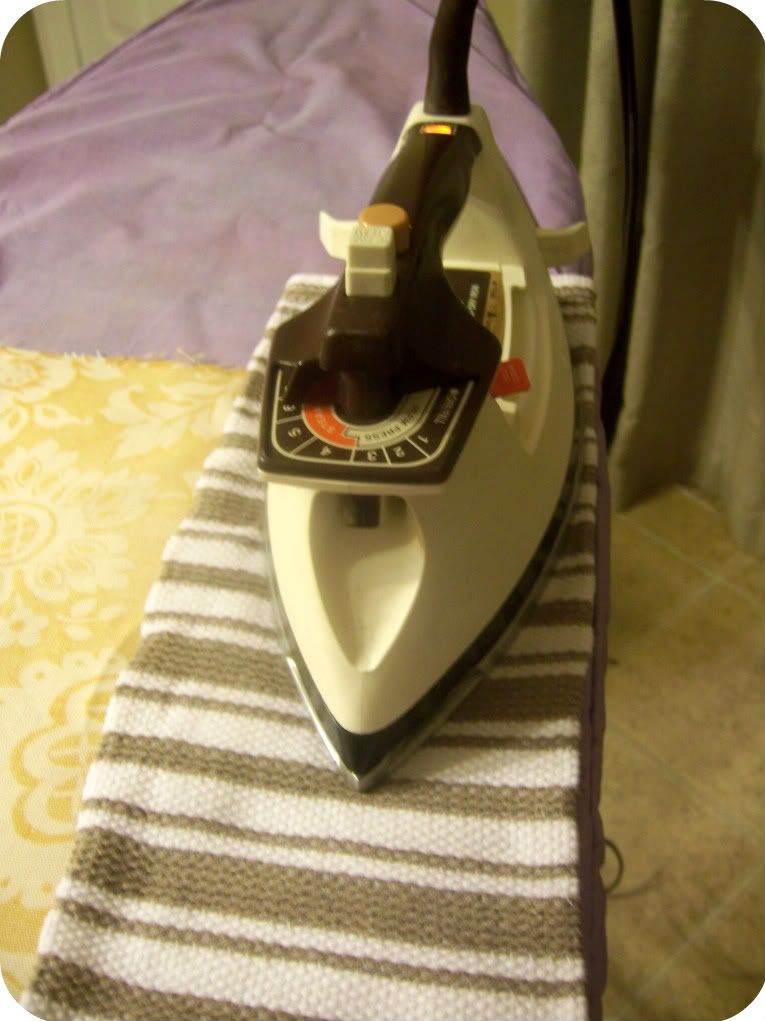
then you place a damp washcloth over one section at a time and then place an iron, set on the "wool" setting (otherwise known as "melt your fingers and face off with the steam produced") on the damp cloth. do not "iron" with it. just let it sit there for about 10-15 seconds. then pick up the iron and the cloth and move it to the next section, repeating until you have the two side seams "hemmed" together.


{note: remember that the washcloth is super steaming hot. don't be me and sustain eleventy billion burn marks from the washcloth. mmk. thanks}

now comes the fun part! stuff the pillow into the pillowcase! you will have an open seam that you will have to "sew" shut. in my case, i knew i wanted to leave this edge raw so-to-speak. i liked the ruffled edge of the tablecloth and wanted that on one edge. so i pinned the bottom of the fabric and the stitch witchery to the ironing board again and repeated the process.

{pretend here that i took a picture. i would have one but i left my third arm at the gym pumping weights in preparation for all the painting in it's future...}

if you want a clean seam all around, simply fold the edges in, pin stitch-witchery in between them and continue on! it is a little tricky, and it helps to leave a little more fabric than you think you need, but if you are patient it will work!

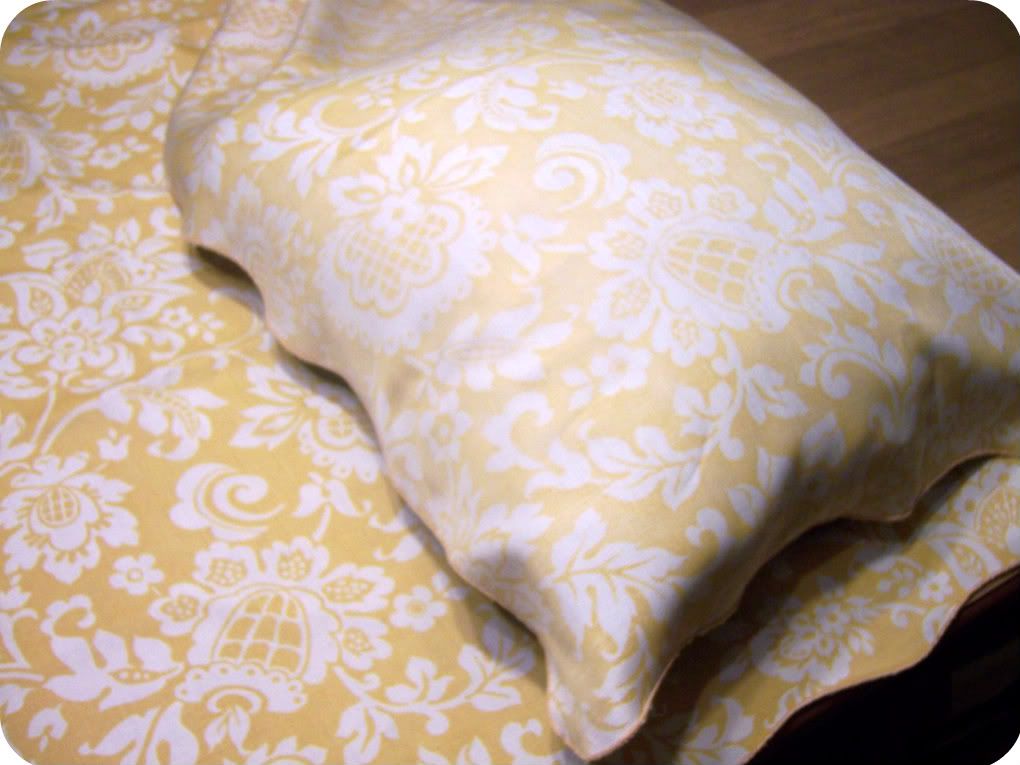
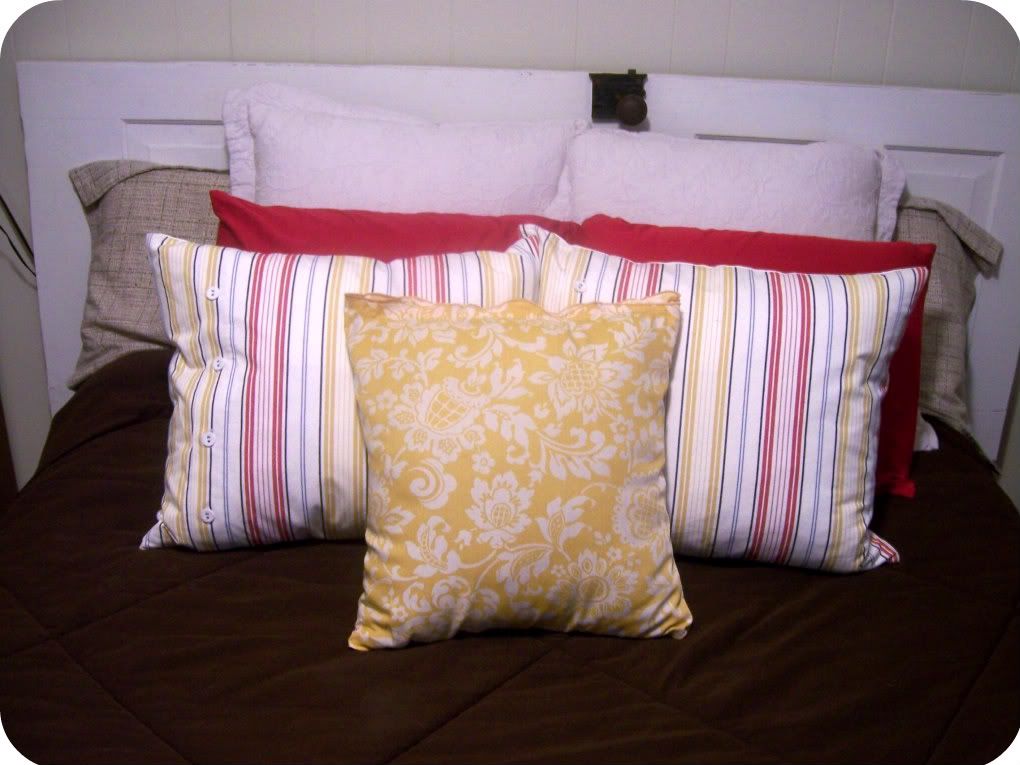
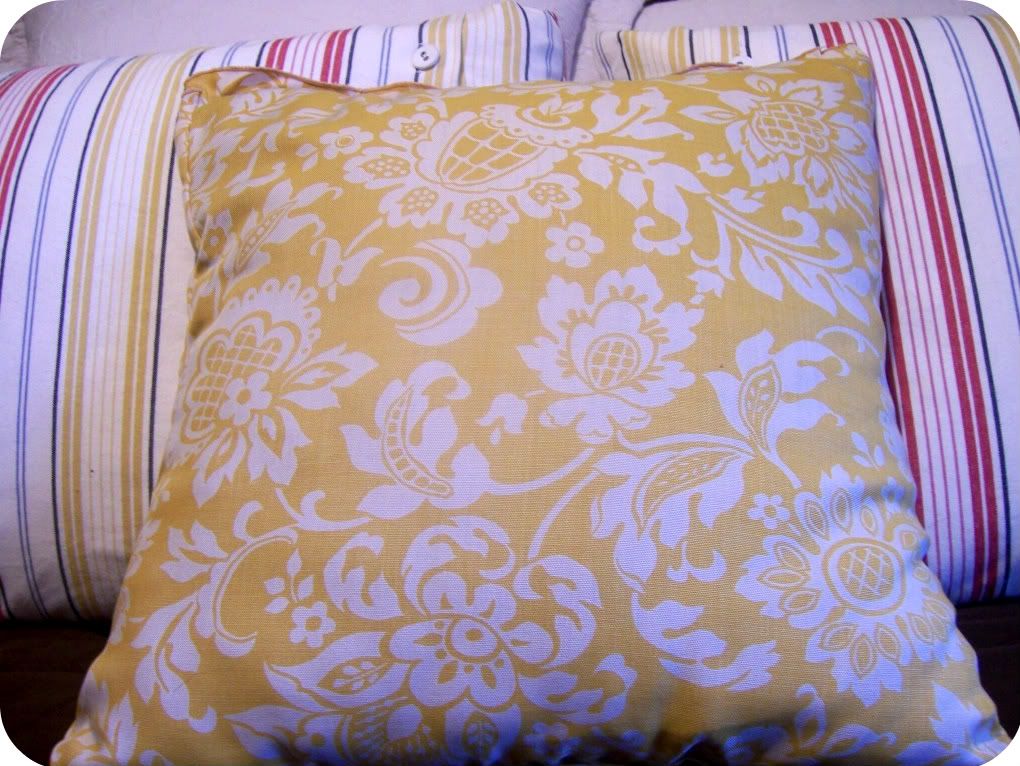
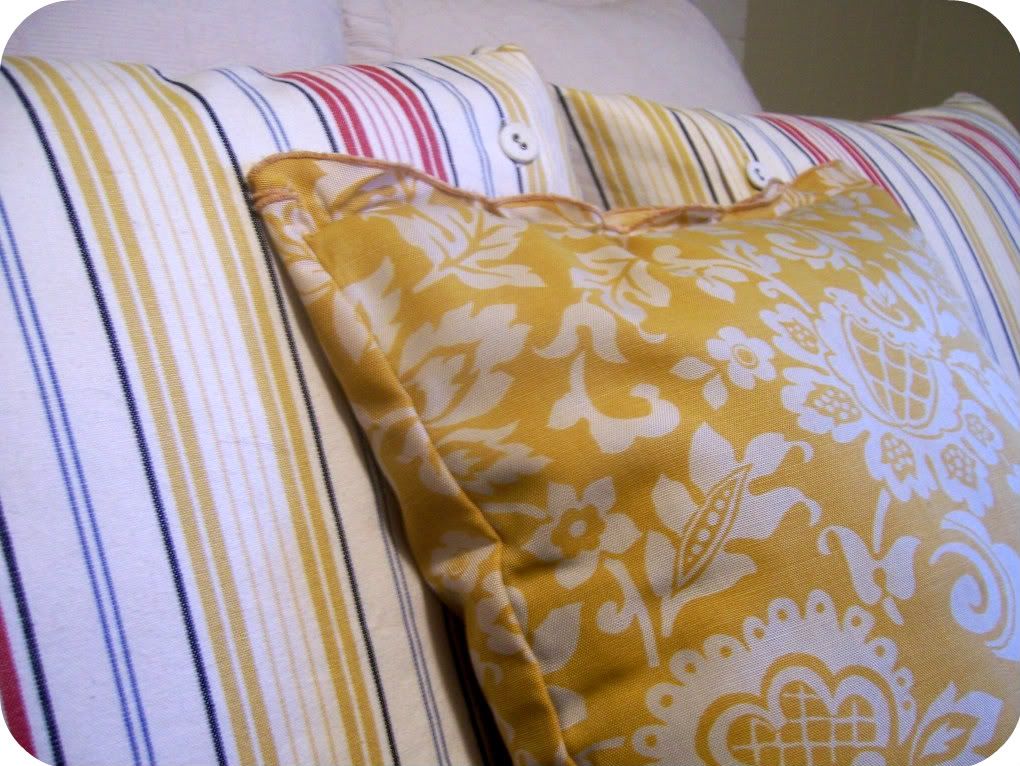
here is my bright, cheerful new pillow cover in it's new {temporary} home! :)


thanks again so much amy for having me! :)

(amy takes the wheel again here)

Thank you, Skye!!  Isn't this SO CUTE?  Can I please have what is left of that tablecloth?  I love the yellow!!

Y'all be sure to go over to Skye's blog and show her some love!  I have a tutorial over there too, just for today.  On a normal day, though, you'll find details of her hilarious adventures as a newlywed and tons of cute decorating ideas!

Linking up:


HookingupwithHoH
Pin It!

Friday, February 25, 2011

hoodie upcycle, part deux: coffee cozy

Hi there, Hoopdeedoodles!  (do I sound a little like Flanders from the Simpsons?)

Thanks for all of your kind comments regarding last week's project, where I cut up my beloved gray hoodie to make a cute makeup bag.  But there's still a lot of hoodie left, and I can't give it to Goodwill now..

So I decided to challenge myself to use up as much of it as possible!

This week, I made a super-cute coffee cozy!


Maybe it will actually protect my hand from those screamin' hot cappuccinos I prefer, unlike the cardboard sleeves.  Oh, and it's good for the environment and all that.

Using pinking shears, I simply cut off the sleeve just above the wrist.
Then I added a flower made of knit scraps - soft and stretchy.


Easy as pie.


and check me out, I was featured over at Humble Homemaking!

{ironic, to brag on myself about being featured as humble, dontcha think?}

Have a wonderful weekend!
Pin It!

Saturday, February 12, 2011

5 minute gift card holder tutorial. no lie.

ever buy one of those gift cards that doesn't come with a cute envelope?

and it's really a pretty nice gift but you feel kinda lame just sticking it in the card, like you didn't try at all?

and you've only got a few minutes until the mailman swings by and you HAVE to get it out today?

(this is a purely fictional scenario, of course.)

problem solved.  Fire up your iron, thread the machine, and this should only take you 5 minutes.


1.  grab a scrap of cute fabric.  Fold it over; center your gift card as a guide, leaving  1/2" around 3 sides and an inch at the top.  Cut!


2.  Open it up flat.  Turn under and press your top seam; sew with 3/8" seam allowance.


3.  Fold with right sides together; sew  with 3/8" seam allowance along both raw edges.  Clip the corner 45 degrees.


4.  Turn right side out; press.  Slip in the gift card (I left mine peeking out for the picture, but it should fit all the way in the pocket.)  That's it!  Nice and flat and easy to mail. 

Now run for the mailbox!

{please excuse the less than professional pictures.  5 minutes, y'all.}

Pin It!

Friday, August 27, 2010

the paint chip challenge!

I stumbled upon this challenge yesterday, and it got my mind working.  My eldest has a birthday in the fall, and we need to be thrifty with the party this year, so I am pondering an "art party."  This kiddo LOVES art projects, drawing, painting, play-doh, you name it.  She gets positively giddy over paint samples, so they would be perfect for the goody bags!


Supply list:

paint samples - the large single-color kind
cellophane bags
stickers, erasers, and other small goodies
pencil
hole punch
sharpie


I used Better Homes & Gardens paint samples from Wal-mart, which, due to incredible luck, fit perfectly into these 6" x 3.75" cellophane bags that I already had on hand.


Write your message on the paint sample, slide it into the baggie, and slide in a page of stickers facing the other way so you cover up the ugly backside of the sample.  Incidentally, I'm the world's WORST note-writer, so I try to say "thank you" in the goodie bags.  It's not how Emily Post would do it, but it's better than never getting around to it.

Now punch two holes in the top of the bag and slide a pencil through the holes.  Ta-da!  For only pennies you have a cute party favor!


We also picked up a few of the paint samples with the hole in them.  I think these make terrific gift tags!


This is a little bucket with holes already in the sides for tying a ribbon.  Full of art supplies, it would make another inexpensive yet fun gift for a creative kiddo!

By the way, immediately after these pictures were taken, the kids appropriated the paint samples for their own creative uses.  They will probably end up being placemats for the next stuffed animal tea party!

And don't tell my husband, but while I was at Wal-mart I picked up a few extra samples that would look nice on the living room wall...

Pin It!
Related Posts with Thumbnails