Showing posts with label refashion. Show all posts

Tuesday, April 26, 2011

{tip Tuesday} : flower headbands

I love all of the cute flower headbands for little girls these days, and my girls look great in them.


But headbands are notoriously cheapo. And little girls are not always gentle.

"mommy! I broke my headband!" (weeping and gnashing of teeth)

"not again!!! I just paid x dollars for that!!" (weeping and gnashing of teeth)

Here's my solution:


The flowers slide on and off! I made these flowers myself (see tutorial here) and added a small tube to the underside. Presto!

"mommy! I broke my headband!" (weeping and gnashing of teeth)

"no problem, honey!" (supermom grabs new headband from stash, slides flowers on it, and tosses the busted one)

Incidentally, the hem of an old t-shirt just happens to be the perfect size for these 1/2" wide headbands...

Another bonus is that this makes the flowers interchangeable, repositionable, etc. Let me know if you try it!


Tip Junkie handmade projects

Pin It!

Friday, April 8, 2011

I SHINE - a donation challenge!

Hey hoopdeedoodles!  It's been a wild week of Ultimate Blog Partyin'!  I have visited so many cool blogs, participated in several whirlwind Twitter chats, and met lots of new people.  If you haven't seen the full list of participants, brace yourself and click here.

I've also been feeling totally overwhelmed by the amount of clutter in my house.  I suspect that it's breeding at night while I am sleeping.
So when I saw The SHINE Project blog's weekly challenge, I was already feeling highly motivated.

Y'all know what a big fan of Goodwill I am.

I had a major Goodwill pile going in the closet already, but it was the hardest kind of stuff to part with.

Stuff I like.


Stuff I just don't fit in anymore (because I lost weight: now don't get all jealous and stuff, I had to break up with sugar to lose that weight.  We barely speak anymore.  It's too painful.)

Stuff that's really nice (say like Cousin Eddie from National Lampoon's Christmas Vacation).

A Talbot's silk dress.  Michael Kors blouse.  Two Ann Taylor cashmere twinsets.  Etc. etc. etc. ad luxuriam.

I could give these things to friends, or consign them, but decided against it.

Some woman out there, looking for a job, or struggling to make ends meet, is going to find these gems amidst the Goodwill racks, and it will give her a much needed thrill.  And on Easter Sunday, or at her next job interview, she is going to look radiant and proud.

Now, to be sure, there were also some real stinkers in that pile.  Like the sweater on top - one of my first knitted projects - a shrug that made me looked like a frilled lizard.  No I will not model it for you.

 I also....


(That *gasp-thud* sound is the simultanous cross-country reaction of my BFF, mother, and husband, who did not think it was possible for me to let go of this failure.)

This had a less noble motivation.  I just needed the storage for fabric so I could clean my office!! :)

I did keep back a few things to refashion, and will share the process with you when I do, of course!

So, head over to The SHINE Project and get motivated to bless someone with your clutter!


Photobucket


Pin It!

Friday, March 11, 2011

hoodie upcycle part trois: camera strap cover!

I've been making camera strap covers for a while now.  I didn't invent them, I just put my own spin on them based on recommendations from my fabulous friend Jen, and adding my love of strip piecing.


Anyhoo, the camera strap covers have been a popular item, and I've sold the one off my camera 5 times.

Time to make another, one which I will NOT sell.

Beloved hoodie, thou hast new life. 


I think I may have stumbled onto greatness here.  There is NOTHING cushier on a neck than an old sweatshirt.


I added some cute raw-edge appliques and lined it with fusible fleece for even more padding.

 
Pardon the picture quality, but I had to use my phone for the pics.  Because I totally put this on my real camera as soon as it was done.  And it isn't coming off.
 
Well, unless someone wants to pay me $200 for it or something.
 
 
Pin It!

Friday, March 4, 2011

Guest Tutorial: No-Sew Pillow Cover by {rindercella}

hi there! i am skye {or rindercella} from neathering our fest. i am so excited to be guesting here today at amy's blog. amy and i met on twitter and she is such a sweetie! she also has some really cute stuff in her etsy shop... i definitely think you should check it out!

today i am going to show you how to make a simple no-sew cover for a pillow!


here is what i used:

table cloth (or any piece of fabric you like or have leftover for another project!)
stitch-witchery
iron/ironing board
damp washcloth
pillow
scissors/pins

i found this tablecloth at a resale store a few months ago. like any crafter i knew i would need it one day so i bought it! it was $1. yippy!


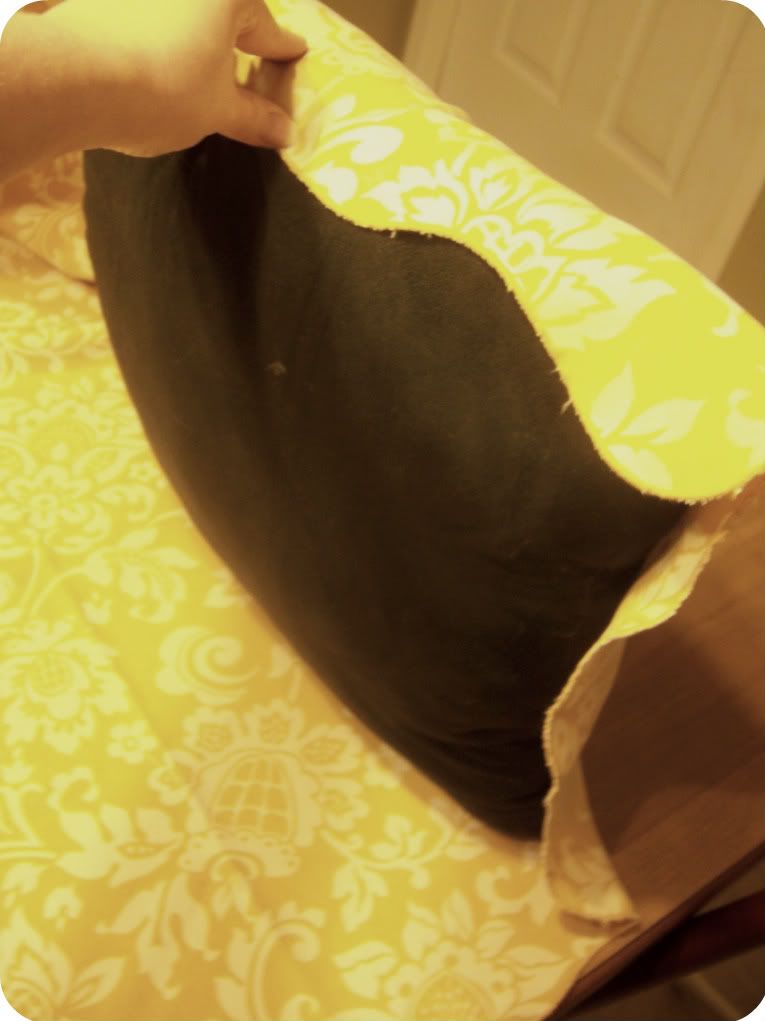
i laid it out face down on my crafting dining room table and placed the pillow on top of it with it situated towards the bottom right corner of the fabric. i left about four inches of extra fabric around the perimeter because this is an extra floofy pillow and i wanted to make sure i had ample to work with.


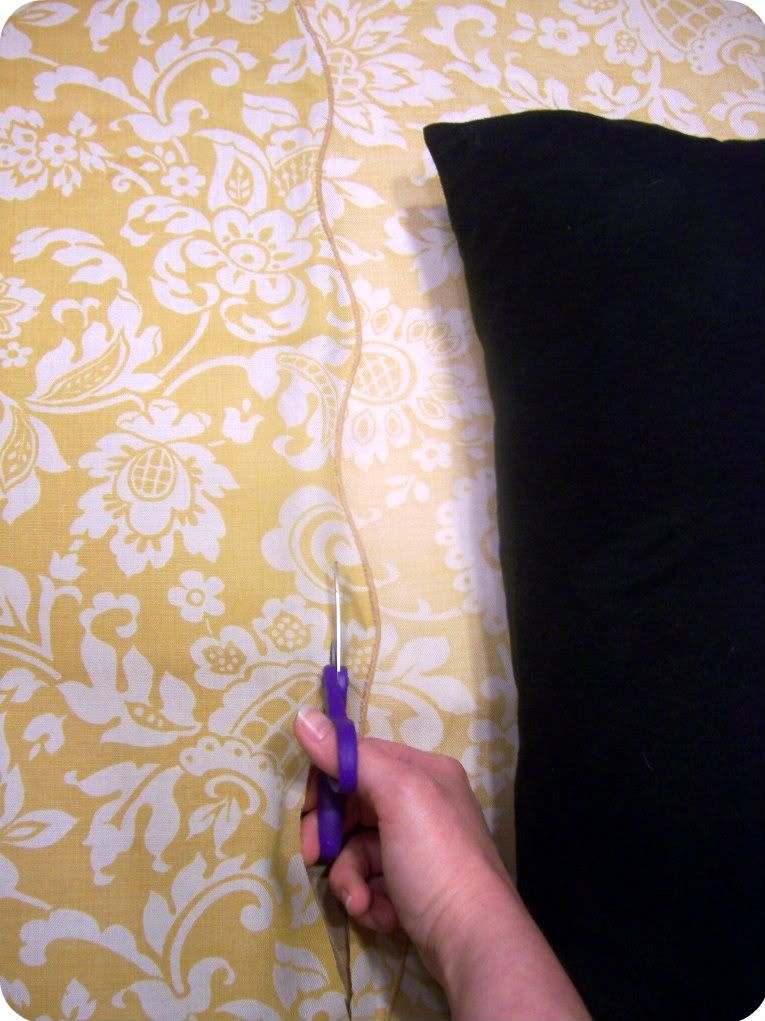
then i simply folded the pillow and fabric over. i made sure the edges lined up and then gave myself four more inches of slack before i cut around the pillow.


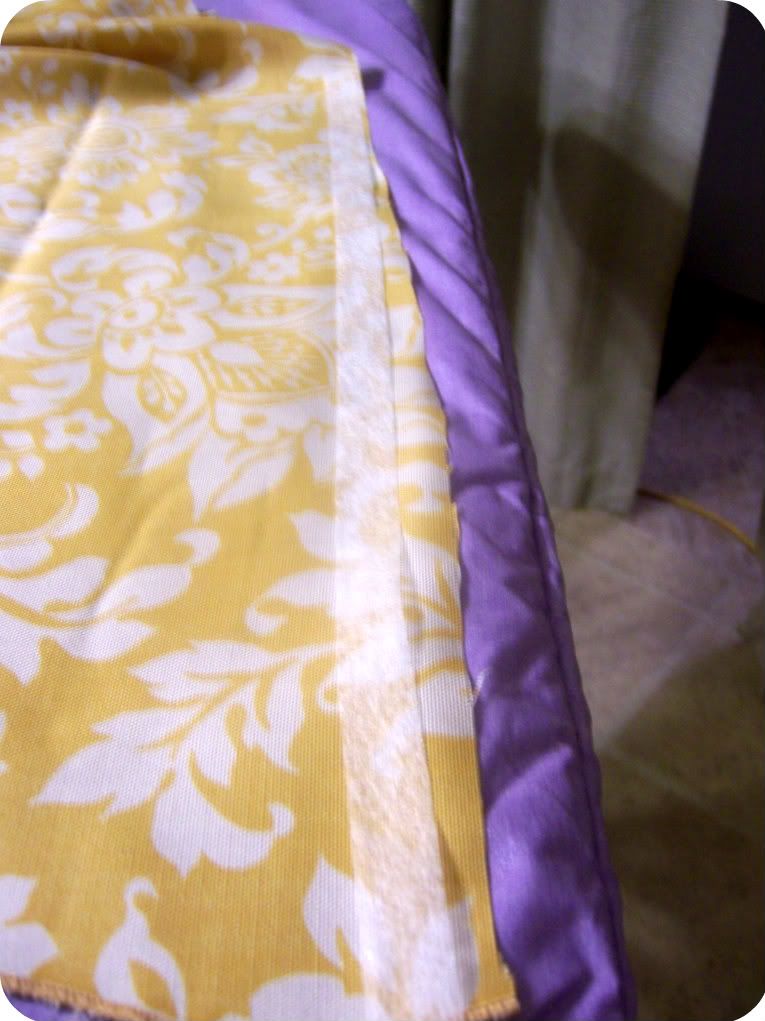
next, i took the fabric and folded it with the wrong side facing out. i laid it on my ironing board and unrolled the stitch -witchery to measure for each side. i only needed two strips for this part because the bottom seam will come from where i have folded it!


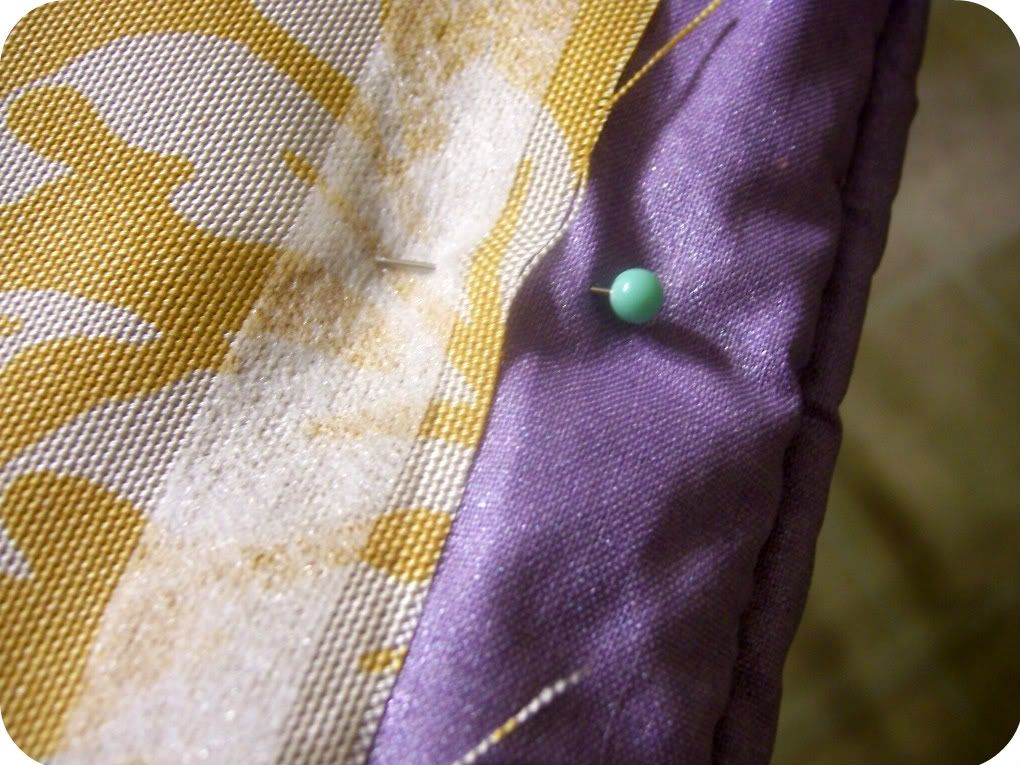
after that, i pinned the stitch witchery to the fabric and the ironing board so that it wouldn't move around on me. (i stole gleaned this genius idea from kim over at sand and sisal).


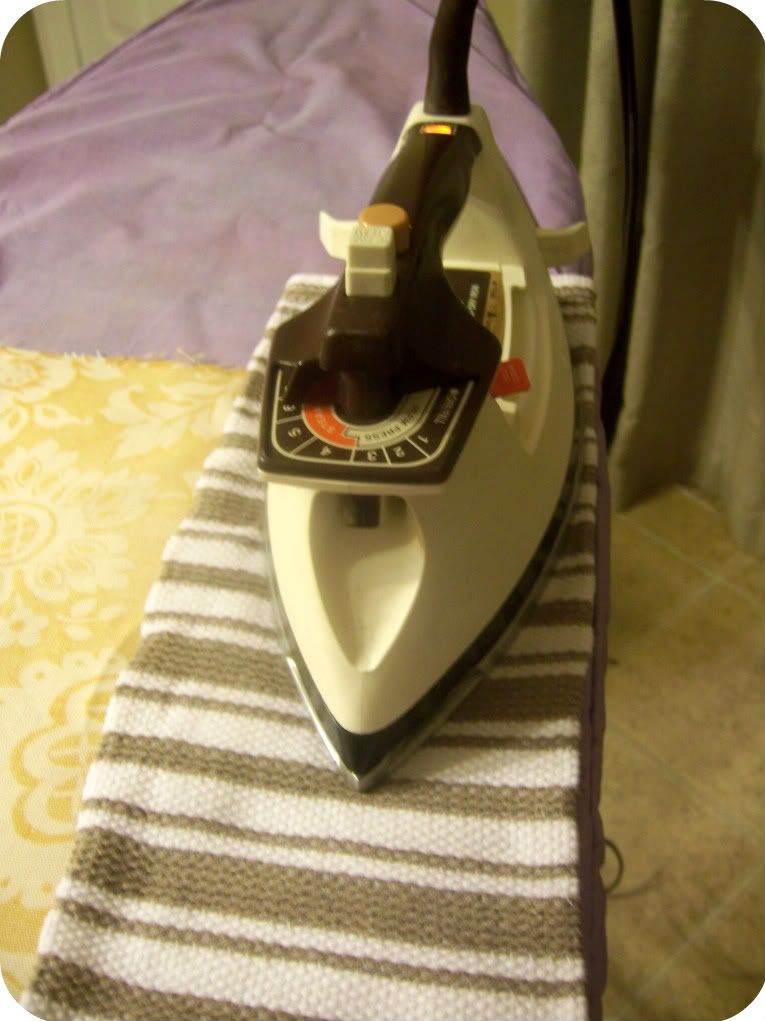
then you place a damp washcloth over one section at a time and then place an iron, set on the "wool" setting (otherwise known as "melt your fingers and face off with the steam produced") on the damp cloth. do not "iron" with it. just let it sit there for about 10-15 seconds. then pick up the iron and the cloth and move it to the next section, repeating until you have the two side seams "hemmed" together.


{note: remember that the washcloth is super steaming hot. don't be me and sustain eleventy billion burn marks from the washcloth. mmk. thanks}

now comes the fun part! stuff the pillow into the pillowcase! you will have an open seam that you will have to "sew" shut. in my case, i knew i wanted to leave this edge raw so-to-speak. i liked the ruffled edge of the tablecloth and wanted that on one edge. so i pinned the bottom of the fabric and the stitch witchery to the ironing board again and repeated the process.

{pretend here that i took a picture. i would have one but i left my third arm at the gym pumping weights in preparation for all the painting in it's future...}

if you want a clean seam all around, simply fold the edges in, pin stitch-witchery in between them and continue on! it is a little tricky, and it helps to leave a little more fabric than you think you need, but if you are patient it will work!

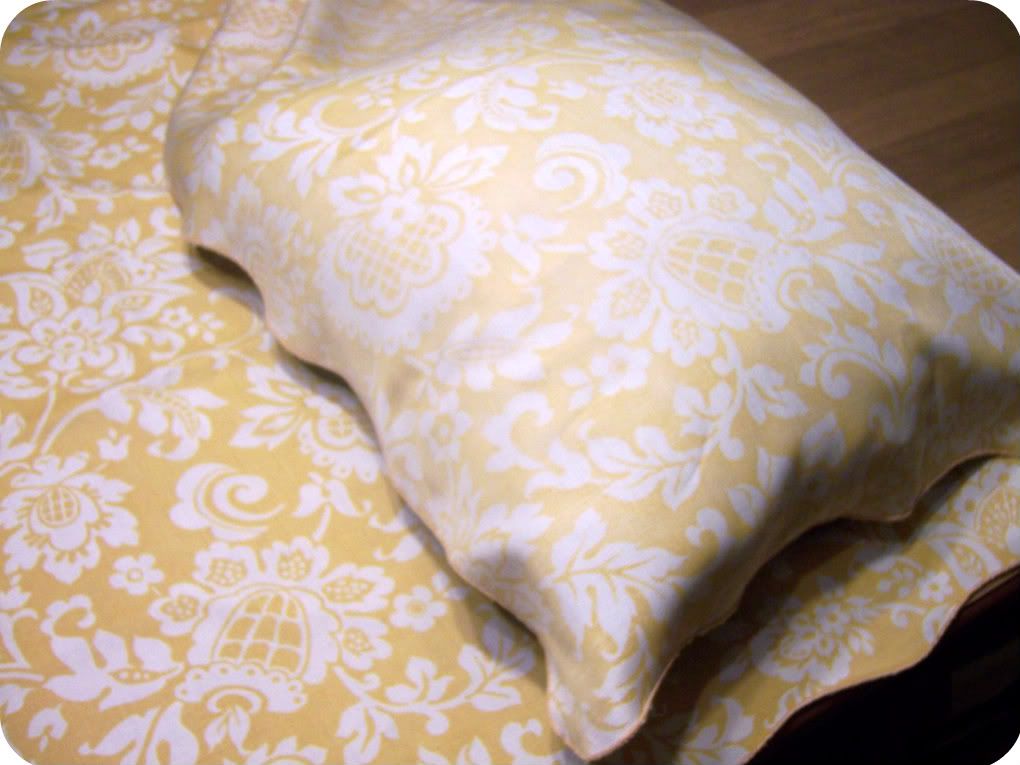
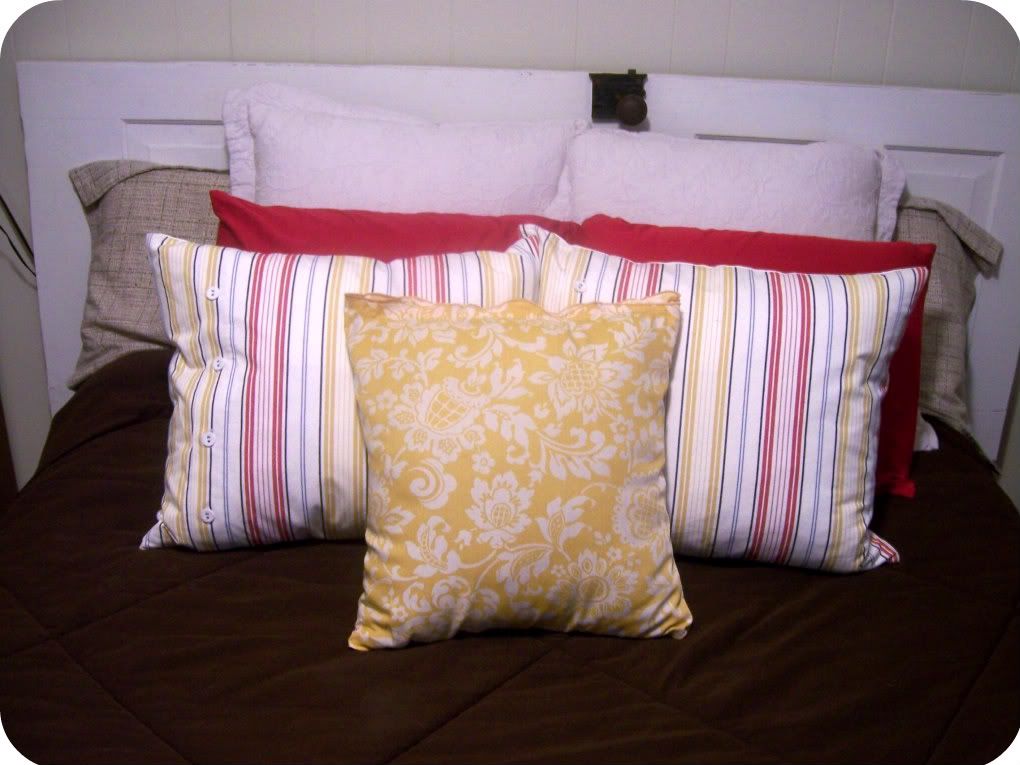
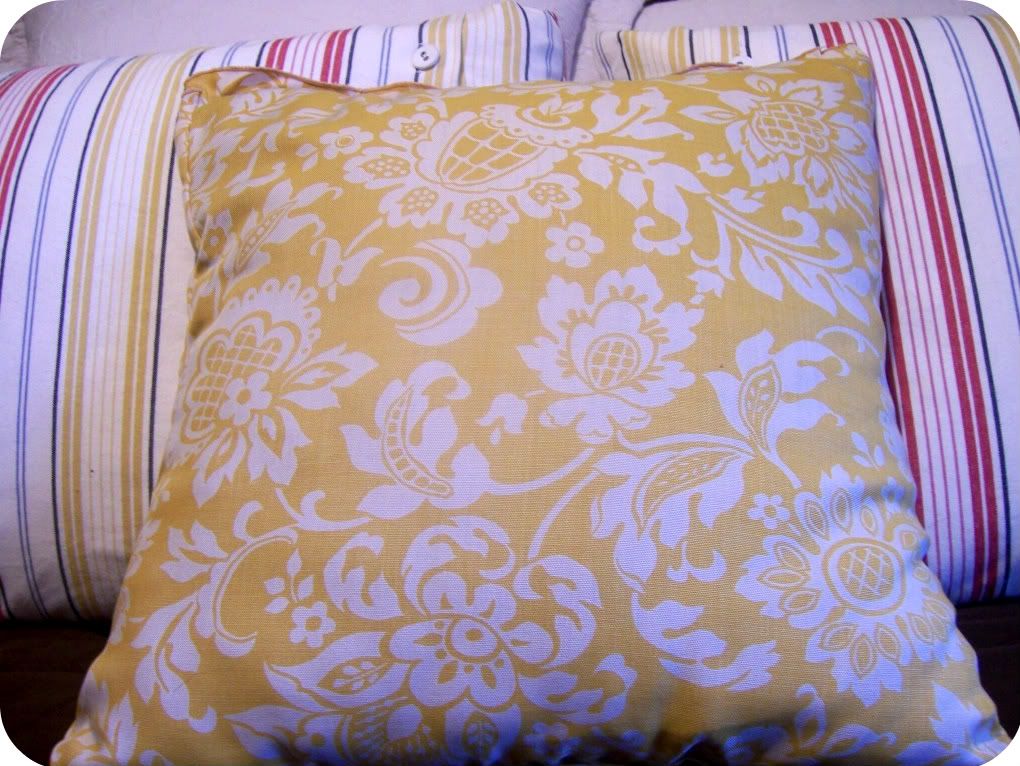
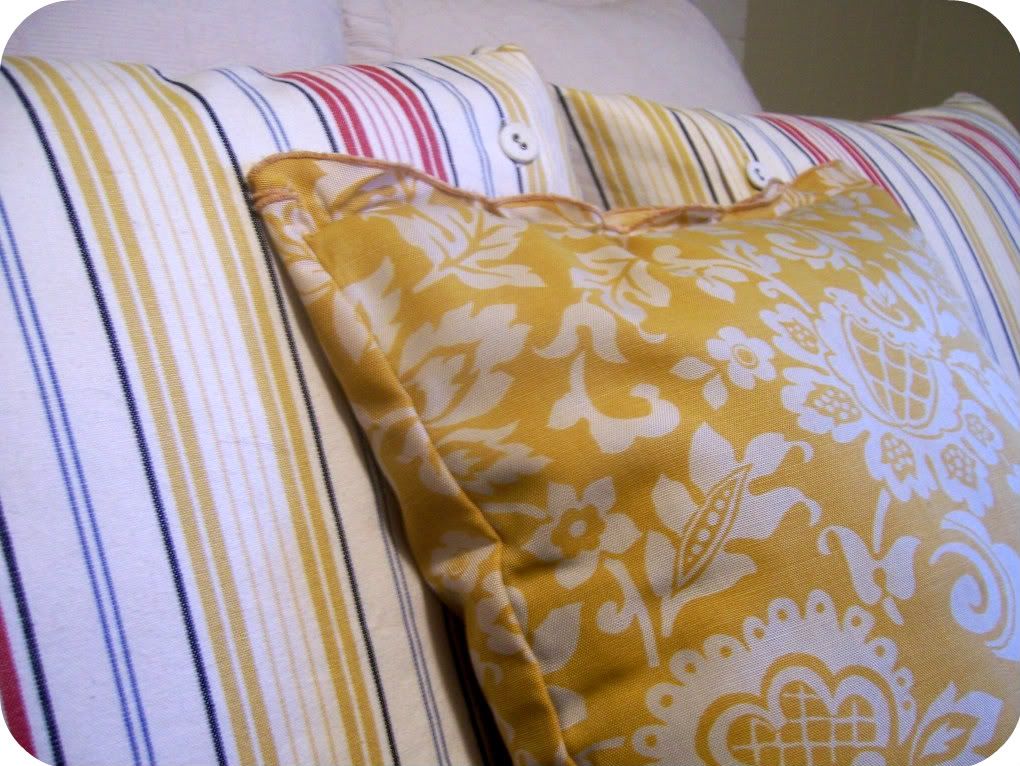
here is my bright, cheerful new pillow cover in it's new {temporary} home! :)


thanks again so much amy for having me! :)

(amy takes the wheel again here)

Thank you, Skye!!  Isn't this SO CUTE?  Can I please have what is left of that tablecloth?  I love the yellow!!

Y'all be sure to go over to Skye's blog and show her some love!  I have a tutorial over there too, just for today.  On a normal day, though, you'll find details of her hilarious adventures as a newlywed and tons of cute decorating ideas!

Linking up:


HookingupwithHoH
Pin It!

Friday, February 25, 2011

hoodie upcycle, part deux: coffee cozy

Hi there, Hoopdeedoodles!  (do I sound a little like Flanders from the Simpsons?)

Thanks for all of your kind comments regarding last week's project, where I cut up my beloved gray hoodie to make a cute makeup bag.  But there's still a lot of hoodie left, and I can't give it to Goodwill now..

So I decided to challenge myself to use up as much of it as possible!

This week, I made a super-cute coffee cozy!


Maybe it will actually protect my hand from those screamin' hot cappuccinos I prefer, unlike the cardboard sleeves.  Oh, and it's good for the environment and all that.

Using pinking shears, I simply cut off the sleeve just above the wrist.
Then I added a flower made of knit scraps - soft and stretchy.


Easy as pie.


and check me out, I was featured over at Humble Homemaking!

{ironic, to brag on myself about being featured as humble, dontcha think?}

Have a wonderful weekend!
Pin It!

Friday, February 18, 2011

This just in: Boring hoodie transformed into cute makeup bag!


In spite of my compulsive Goodwill donations, I keep a box of old clothes to cut up for projects.  For some things, it's just wonderful to sew with fabric that is already perfectly broken in.  And sometimes an item is stained or un-donatable in some way, but a good source for scraps.

I loved this gray hoodie; I've probably had it for 10 years.  Haven't worn it in a long time, though; it just seems too short now.  (weight gain?  low rise jeans?  who knows.)  It needed a new life.


The beauty of refashioning zippered clothes is not having to sew in a zipper!  Wanna try it?  This is an easy project and won't take you long.


1.  With the zipper closed, cut the front out of the sweatshirt.  I only cut as far as the kangaroo pocket, but that's just me.  You can cut this to whatever size you like, as long as both sides are the same.  Using a pair of very small, sharp scissors, carefully cut between the teeth of the zipper.


2.  Use a safety pin at the bottom of the zipper to guard against accidentally opening it all the way.  You can hot glue the end of the zipper to make a new stop, or sew it shut.  I opted for glue.


3.  Cut two pieces of fusible fleece and two pieces of lining fabric the same size as your outer panels.  Fuse the fleece to the wrong sides of the outer panels.


4.  On your lining panel pieces, fold over the edge you will be attaching to the zipper and press.  I used a 3/8" seam allowance.


5.  Put the zipper foot on your machine.  Making sure your outer panels are out of the way, sew the folded edge of the lining panel to the underside of the zipper tape only.  Do this for both sides.


6.  Open the zipper 3/4 of the way (very important!)  With outer panels right sides together, sew around the edges.  Get as close as you can to the zipper without actually sewing over it.  Do the same with the lining panels, only use a 1/8" greater seam allowance, and leave several inches open on one side for turning. 

7.  Remove the safety pin.  Clip corners 45 degrees and trim seam allowances; turn right side out and press.  Stitch opening closed.


8.  Ta-da!  Your basic zip pouch.  Only...it's kinda boring.


9.  Aaahhh, that's better!  I added a fabric flower with button embellishment, and used a piece of the hoodie tie as a zipper pull.

 Now I can enjoy my comfy old hoodie in its new life as a makeup bag!

Materials list:
old zip hoodie
fusible fleece
cotton lining fabric
zipper foot
fabric scraps for flower
button
cording from hoodie tie
thread and stuff

Linked up here:


Join  us Saturdays at tatertotsandjello.com for the weekend wrap 
 up           party!
 
also linked up at: DIY Home Sweet Home Project
Pin It!

Saturday, July 24, 2010

Twenty-Minute Tote Redo!

Went to Old Navy the other day to hit the clearance sale.  Old Navy's sales are garage sale cheap and often about as organized as digging through a big box of random unpriced stuff.  But, just like garage sales, sometimes you find a little gem.

I found this denim tote for 8 bucks.  I felt very sorry for it, because it was like the plain girl at the school dance, sitting in the bleachers while her colorful friends are getting all of the attention.  But, bless her heart, she is just soooo boooooring.  Let's help her out.


I had a couple of doilies I picked up at JoAnn's a while back.  I can crochet doilies but for 99 cents or less why bother?


I pinned the doilies to the bag using straight pins, but I would recommend using curved safety pins if you have them on hand.  I stuck myself a lot during the sewing process. Since the bag is already finished, sewing the doily on required a lot of maneuvering and folding the bag as I sewed, hence all of the sticking with pins.


Sew around the center circle first, then around the outside edge of each doily.


Easy as pie!  I added a few fabric flowers too.


Now we have a cute little tote for my daughter's piano books!


Join  us Saturdays at tatertotsandjello.com for the weekend wrap up     party!


Photobucket


Pin It!
Related Posts with Thumbnails