hi there! i am skye {or rindercella} from
neathering our fest. i am so excited to be guesting here today at amy's blog. amy and i met on twitter and she is such a sweetie! she also has some really cute stuff in her
etsy shop... i definitely think you should check it out!
today i am going to show you how to make a simple no-sew cover for a pillow!
here is what i used:
table cloth (or any piece of fabric you like or have leftover for another project!)
stitch-witchery
iron/ironing board
damp washcloth
pillow
scissors/pins
i found this tablecloth at a resale store a few months ago. like any crafter i knew i would need it one day so i bought it! it was $1. yippy!
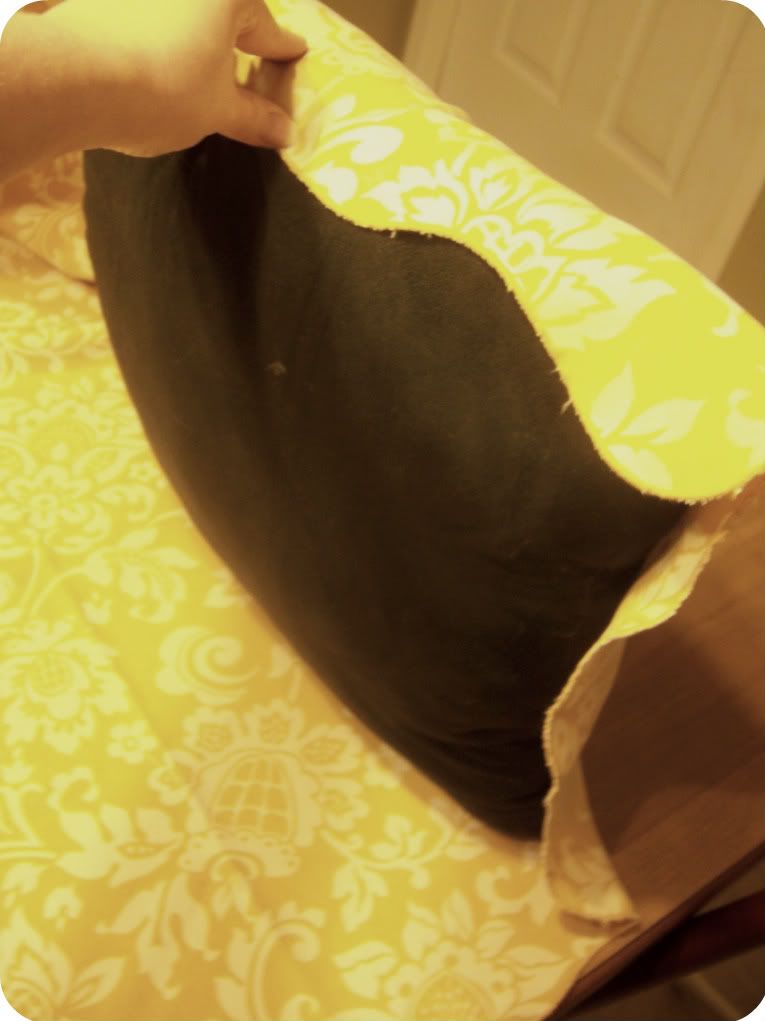
i laid it out face down on my
crafting dining room table and placed the pillow on top of it with it situated towards the bottom right corner of the fabric. i left about four inches of extra fabric around the perimeter because this is an extra floofy pillow and i wanted to make sure i had ample to work with.
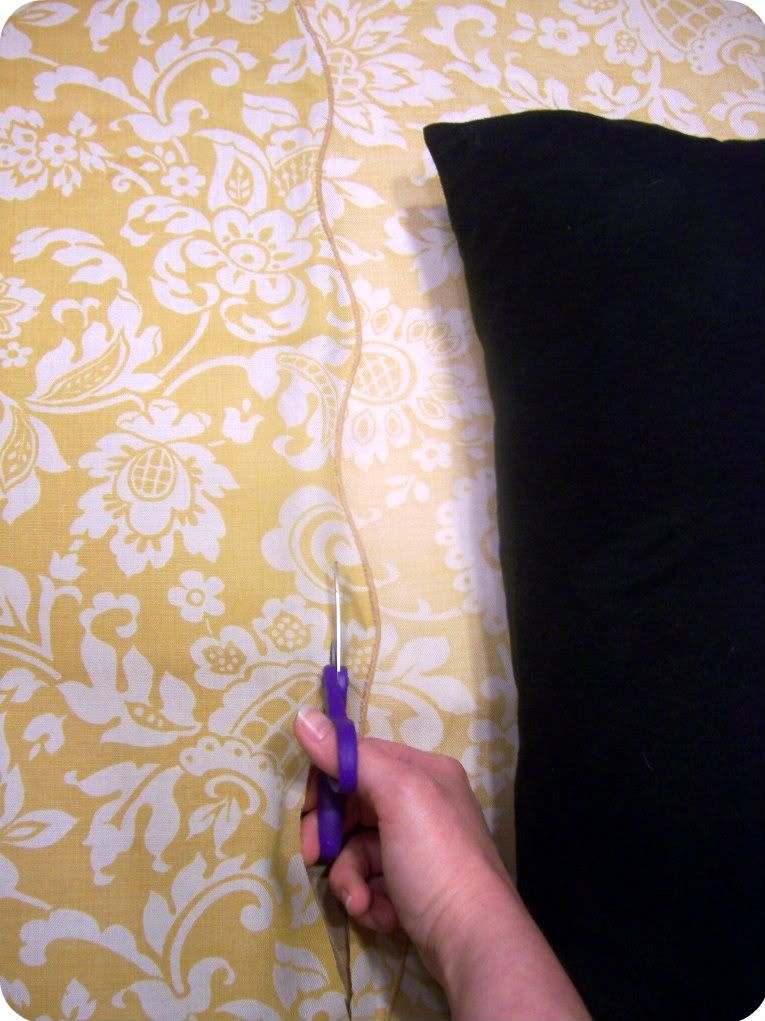
then i simply folded the pillow and fabric over. i made sure the edges lined up and then gave myself four more inches of slack before i cut around the pillow.
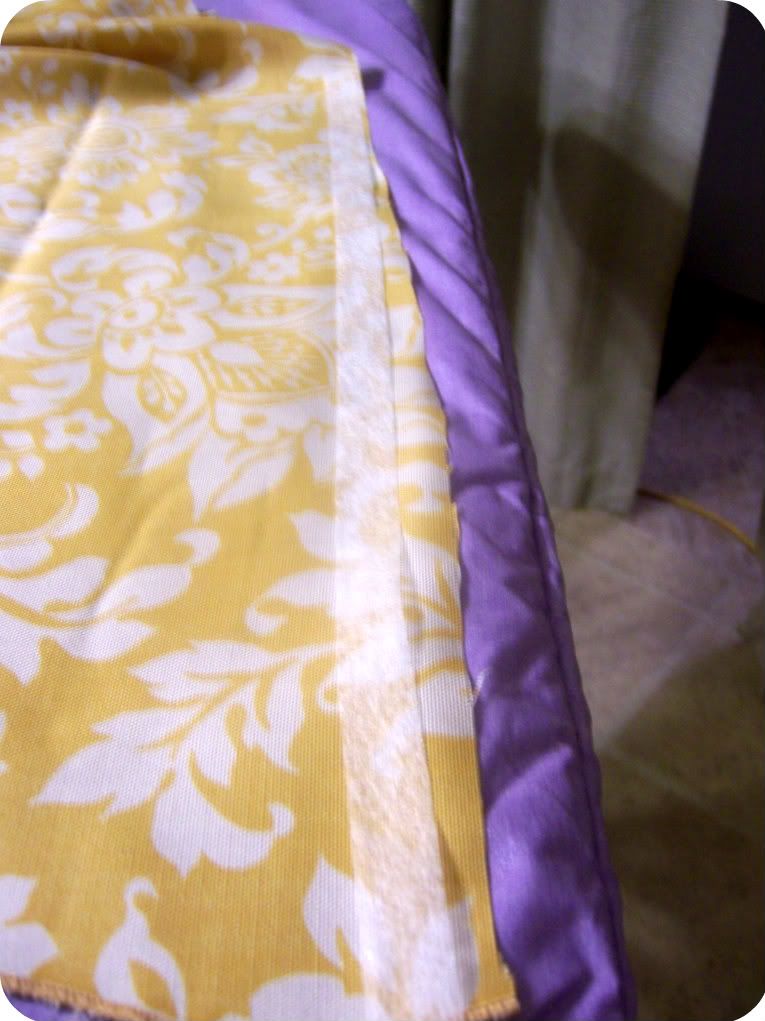
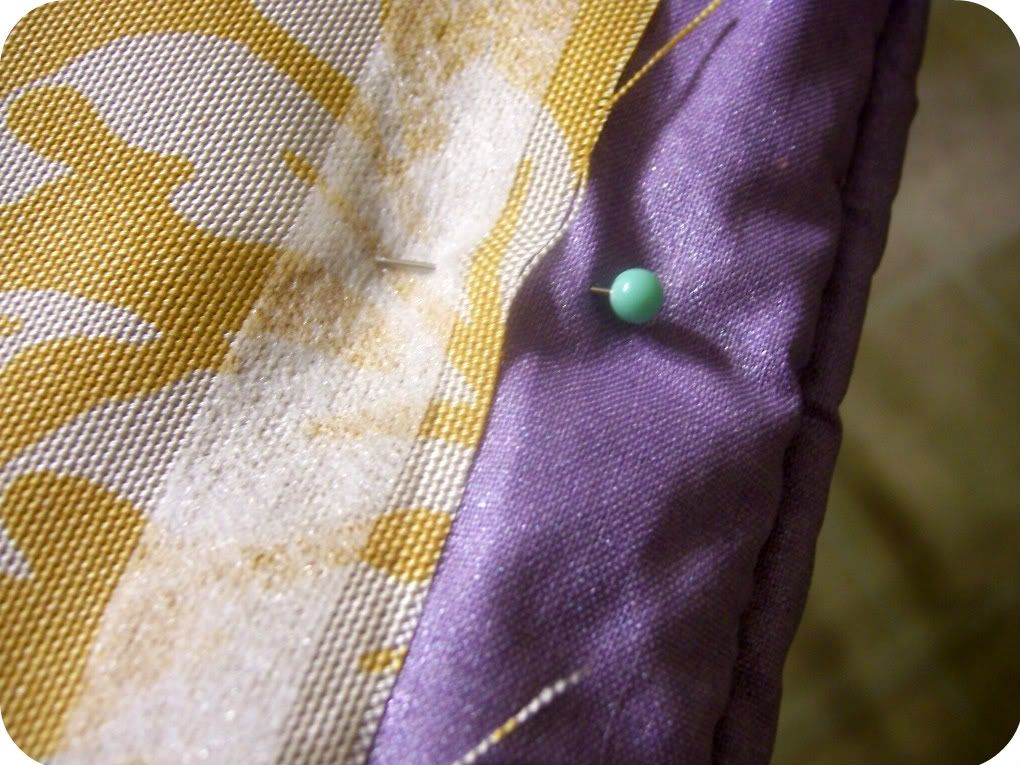
next, i took the fabric and folded it with the wrong side facing out. i laid it on my ironing board and unrolled the stitch -witchery to measure for each side. i only needed two strips for this part because the bottom seam will come from where i have folded it!
after that, i pinned the stitch witchery to the fabric
and the ironing board so that it wouldn't move around on me. (i
stole gleaned this genius idea from
kim over at sand and sisal).
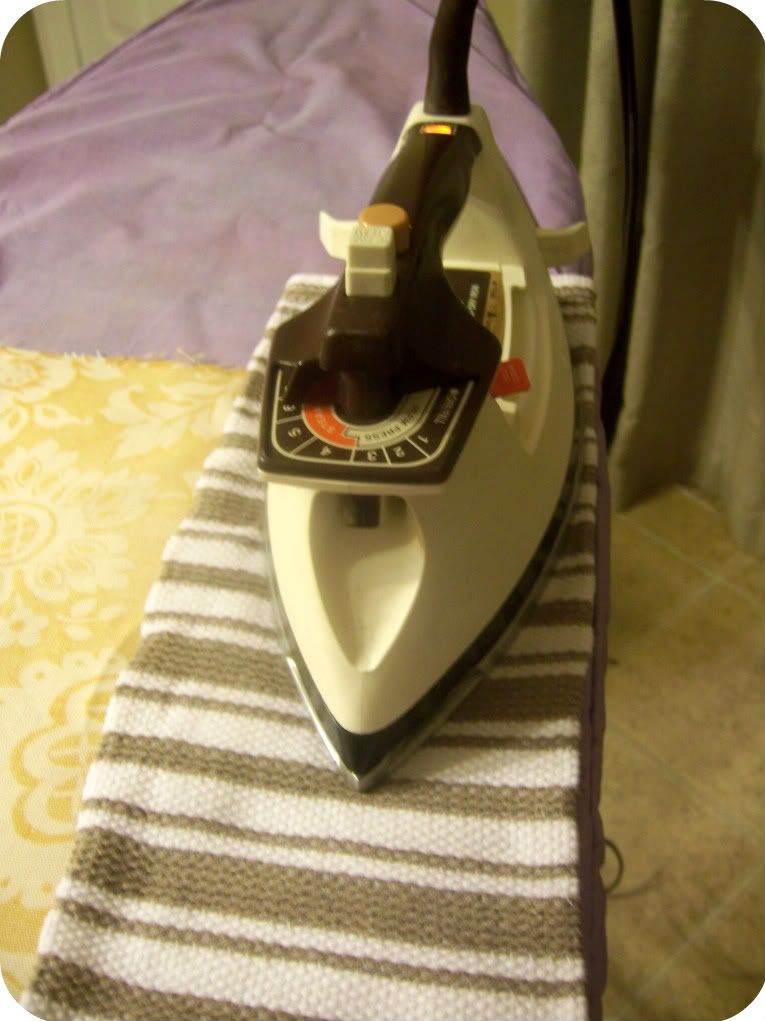
then you place a damp washcloth over one section at a time and then place an iron, set on the "wool" setting (otherwise known as "melt your fingers and face off with the steam produced") on the damp cloth. do not "iron" with it. just let it sit there for about 10-15 seconds. then pick up the iron and the cloth and move it to the next section, repeating until you have the two side seams "hemmed" together.
{note: remember that the washcloth is super steaming hot. don't be me and sustain eleventy billion burn marks from the washcloth. mmk. thanks}
now comes the fun part! stuff the pillow into the pillowcase! you will have an open seam that you will have to "sew" shut. in my case, i knew i wanted to leave this edge raw so-to-speak. i liked the ruffled edge of the tablecloth and wanted that on one edge. so i pinned the bottom of the fabric and the stitch witchery to the ironing board again and repeated the process.
{pretend here that i took a picture. i would have one but i left my third arm at the gym pumping weights in preparation for all the painting in it's future...}
if you want a clean seam all around, simply fold the edges in, pin stitch-witchery in between them and continue on! it is a little tricky, and it helps to leave a little more fabric than you think you need, but if you are patient it will work!
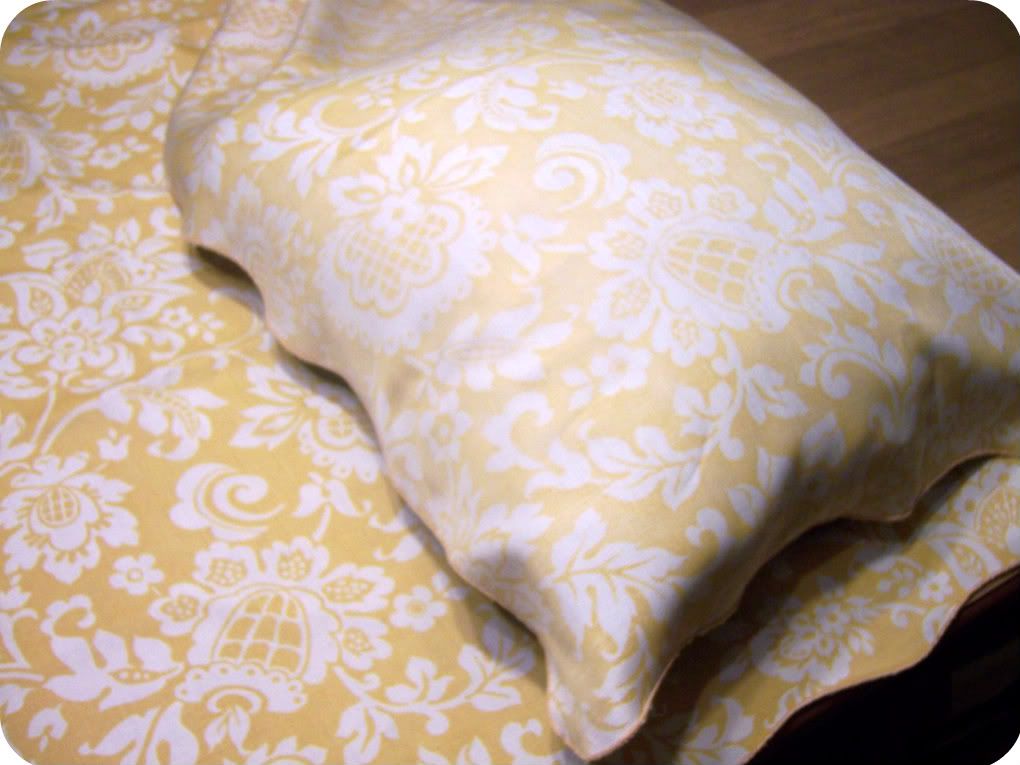
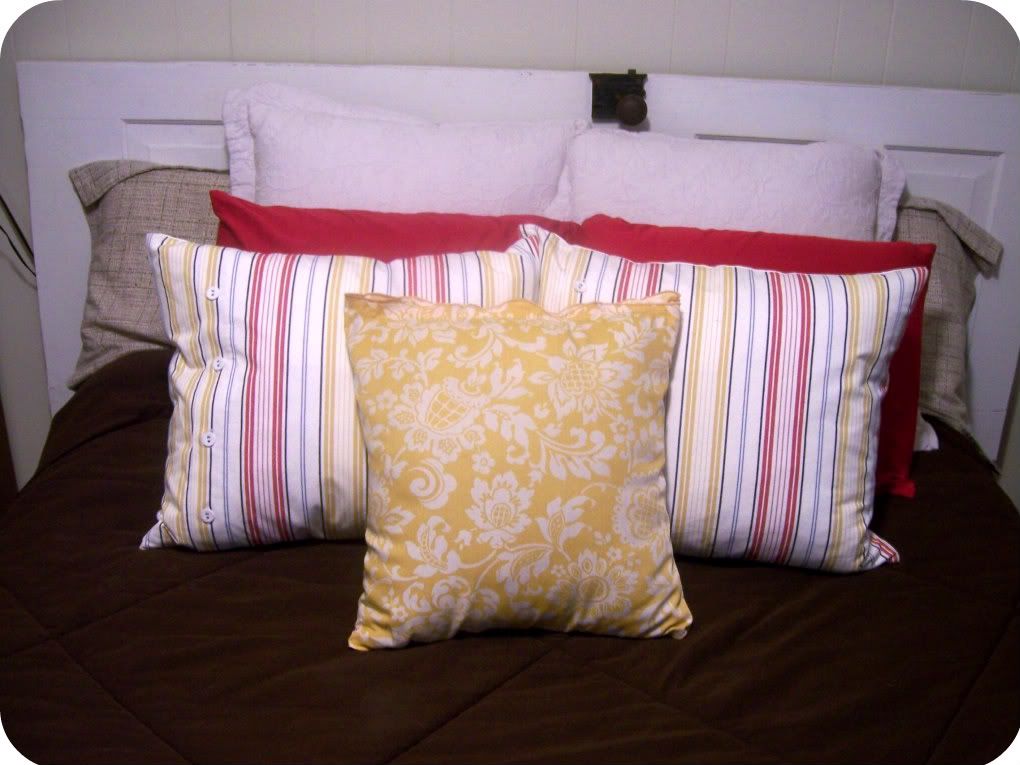
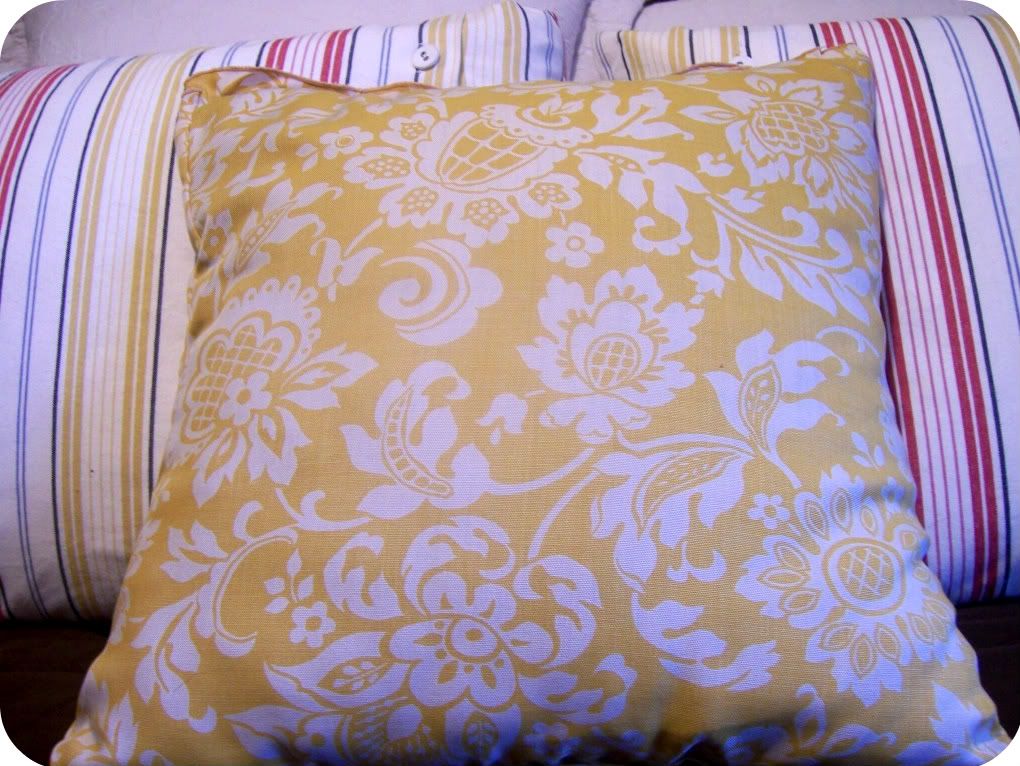
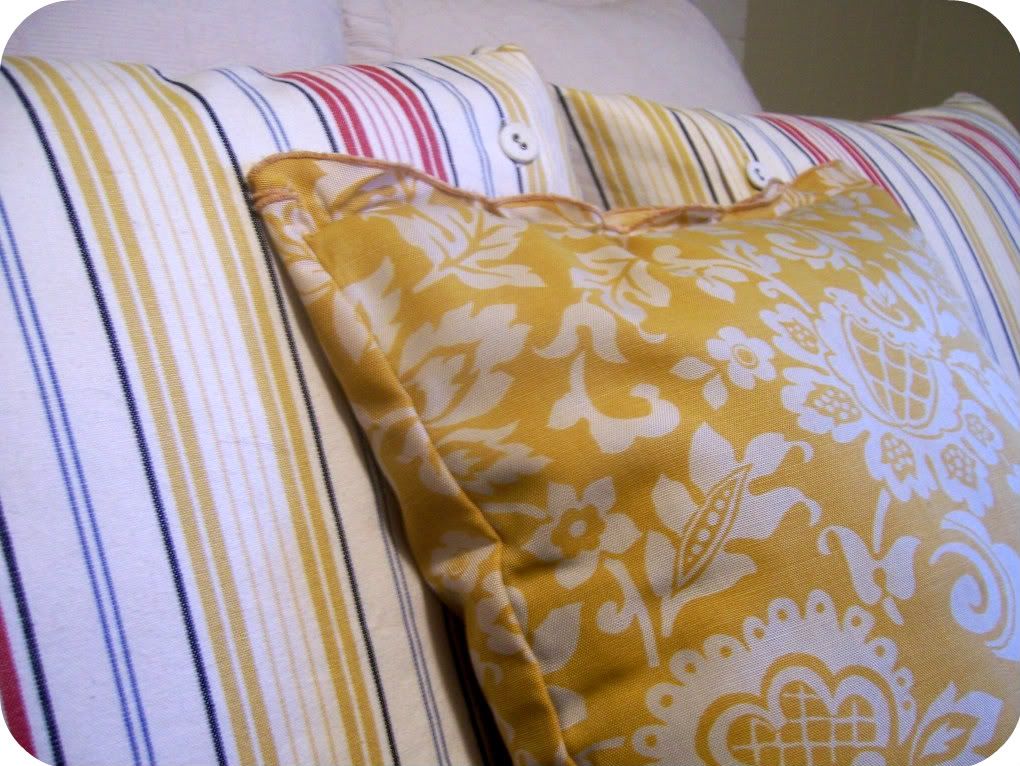
here is my bright, cheerful new pillow cover in it's new {temporary} home! :)
thanks again so much amy for having me! :)
(amy takes the wheel again here)
Thank you, Skye!! Isn't this SO CUTE? Can I please have what is left of that tablecloth? I love the yellow!!
Y'all be sure to go over to
Skye's blog and show her some love! I have a tutorial over there too, just for today. On a normal day, though, you'll find details of her hilarious adventures as a newlywed and tons of cute decorating ideas!
Linking up: